2026 Ultimate Guide to Making Your Own Keycaps: Easy Steps, Tools & Materials with UV Resin
Hello, I’m Itsuki (@saigalog), who is hooked on creating original keycaps.
I’ve actually wanted to try making something with resin for a while, but I couldn’t think of exactly what to make, so I kept putting it off.
While running this gadget blog, I encountered a high-end keyboard and learned to appreciate its quality and the joy of customization.
Also, with Cherry MX switch keycaps, there are many commercially available options, and the world of handmade keycaps focused on resin opens up.
However, for beginners in resin crafting, the initial hurdles are often “not knowing what to prepare” and “not knowing the steps to make them.”
Of course, I faced the same issues, and if you’re reading this article now, you probably do too.
Therefore, in this article, as a gadget blogger and original keycap creator, I will thoroughly explain the items to prepare and the concrete steps.
Once you have the necessary items, this guide will let you jump right into the world of DIY keycaps, so be sure to read to the end!
The keycaps I make are also sold on various e-commerce sites, so feel free to check them out as a reference!
Table of Contents
Tools Needed for DIY Keycaps
To make DIY keycaps with UV resin, you first need to gather the necessary tools.
Women may already have some from makeup or nail art, but men might find many of the items unfamiliar, so collecting them could be a bit challenging.
In fact, I had almost none of them, and with so many types, it was a struggle lol.
I will introduce the tools I actually use and include links to Amazon and other e-commerce sites so you can gather what you need.
Tools Needed for DIY Keycaps
- PVC gloves
- Scrap paper
- Cutting mat
- Silicone mat
- UV light
- Mold
- Toothpicks (bamboo sticks)
- Nippers
- Sandpaper
- Nail file
- Tweezers
- Brushes
- Resin cleaner
- Tissues
- Kitchen paper
- Small round cases
- Keyboard
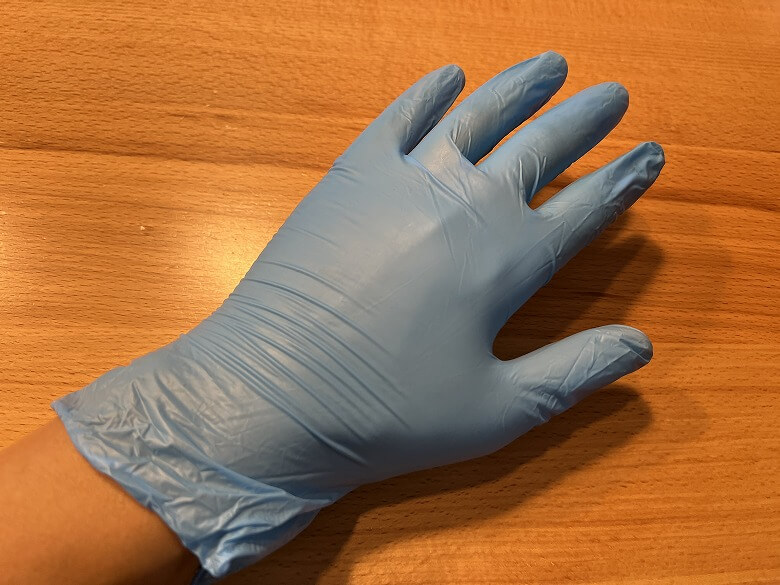
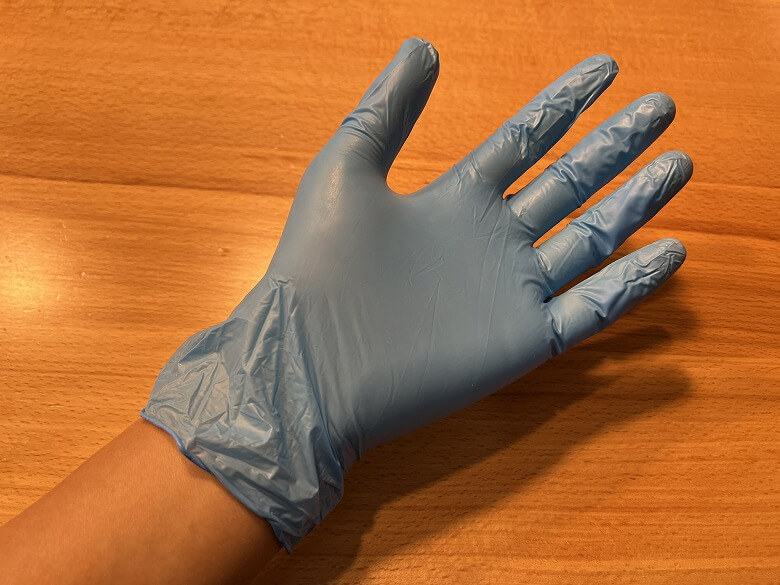
PVC Gloves
To make DIY keycaps with UV resin, first prepare PVC gloves.
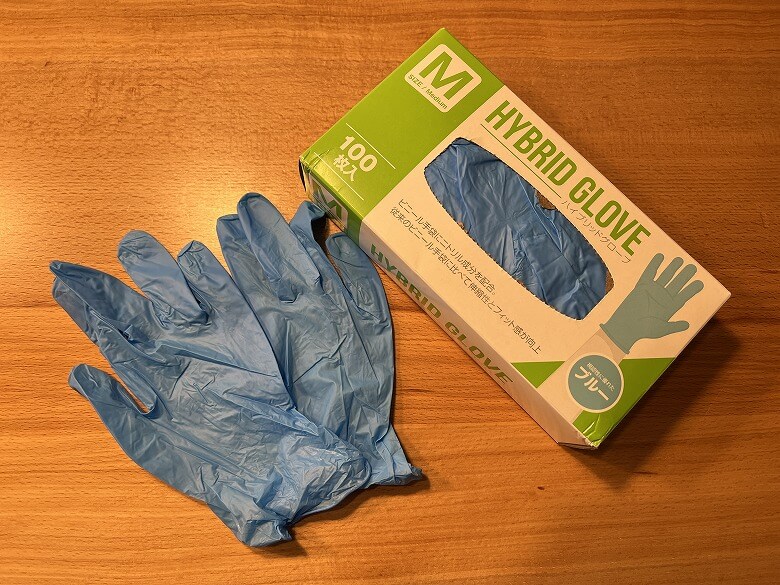

Since touching resin with bare hands may cause resin allergies, it might seem a bit bothersome, but always wear PVC gloves when working.
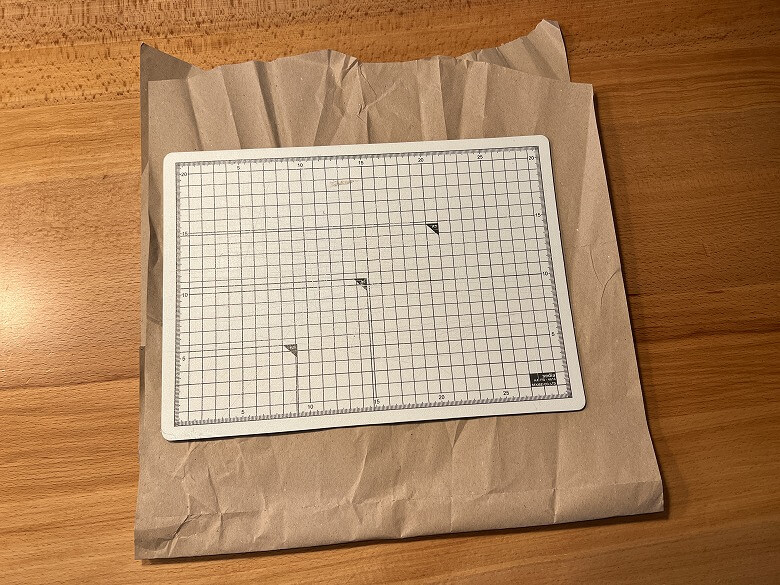
Scrap Paper & Cutting Mat
During resin work, your desk will inevitably get messy, so lay down scrap paper and work on top of it.
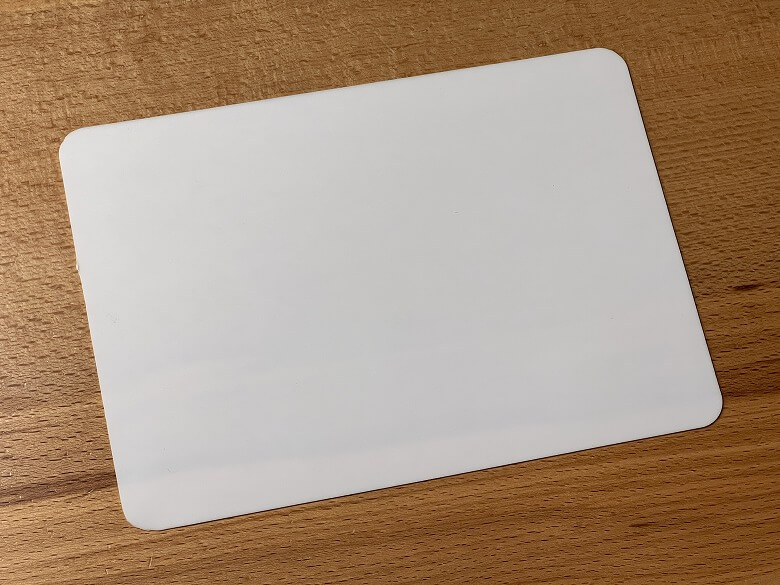
Silicone Mat
A silicone mat isn’t essential for resin work, but it’s an excellent surface for your workspace.
UV Light
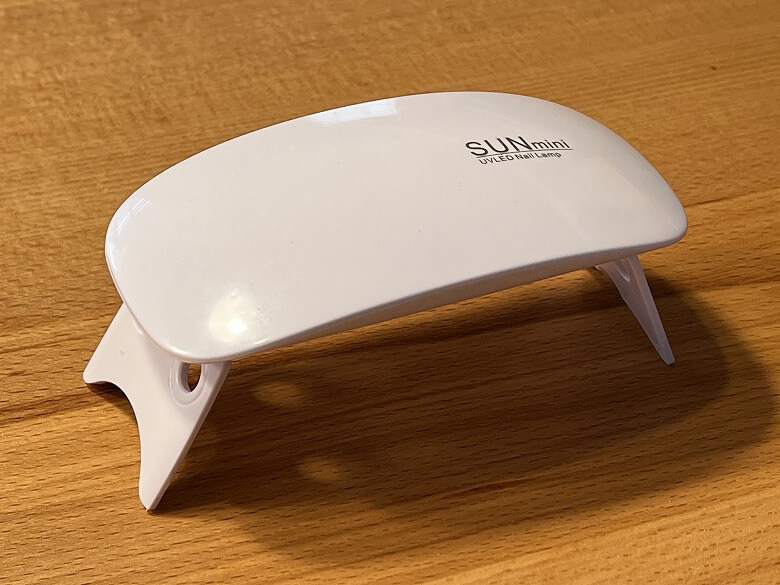
A UV light is indispensable for curing resin.
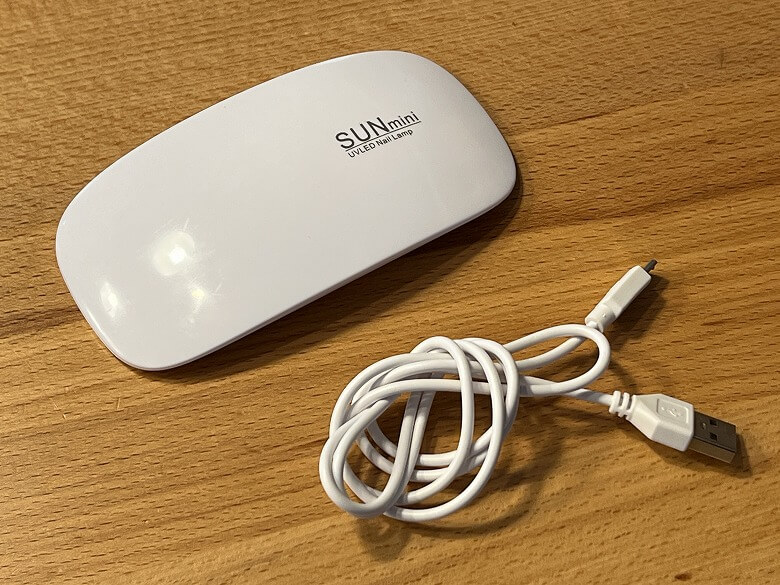
The back looks like this, with UV light coming from six sources.
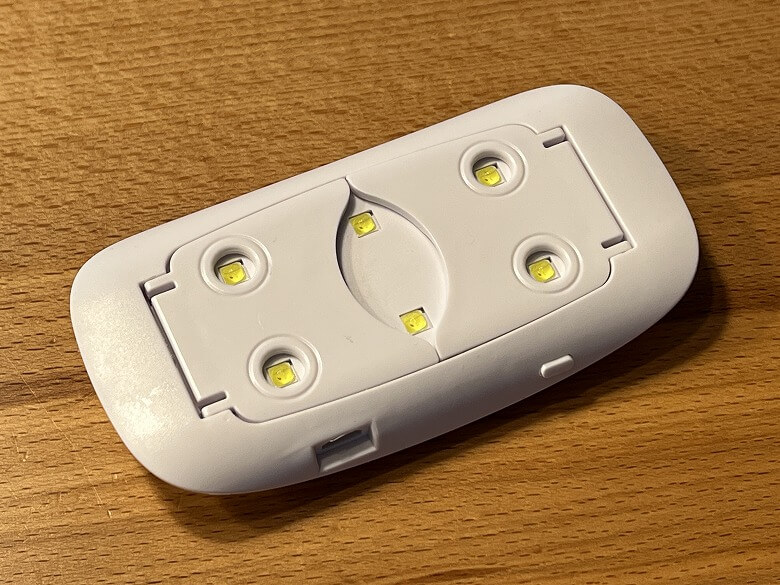
It’s foldable, making it compact, and with a stand, you can place items underneath for curing.
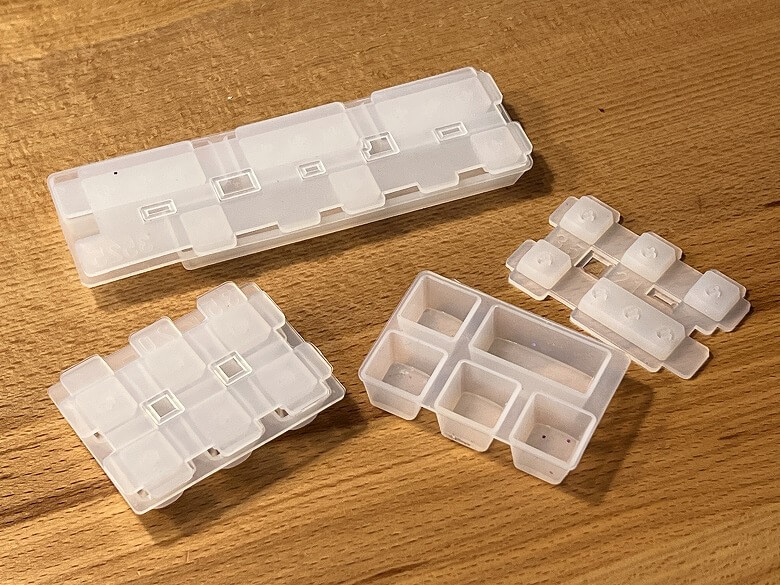
Mold
A mold to shape the keycap is also essential.
Toothpicks (Bamboo Sticks)
Toothpicks or bamboo sticks are also must-have tools for DIY keycaps with resin.

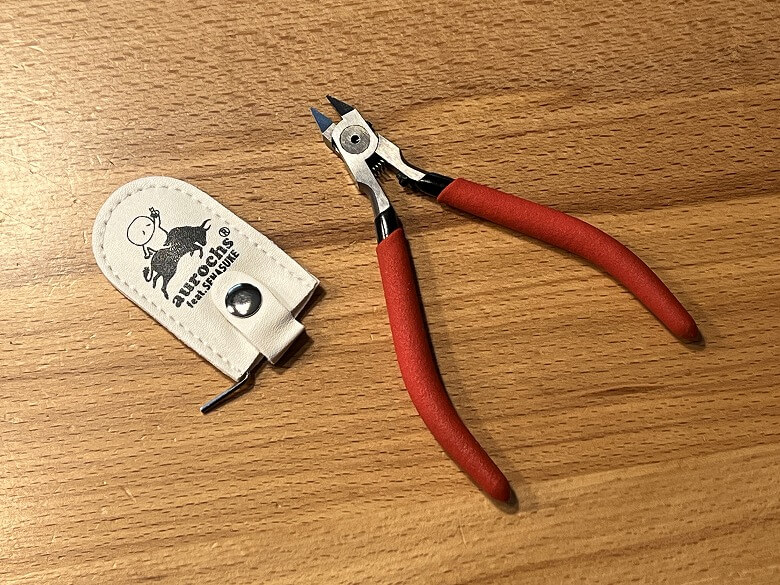
Nippers
I had a nipper already, but I got a new one when I started making keycaps with resin.
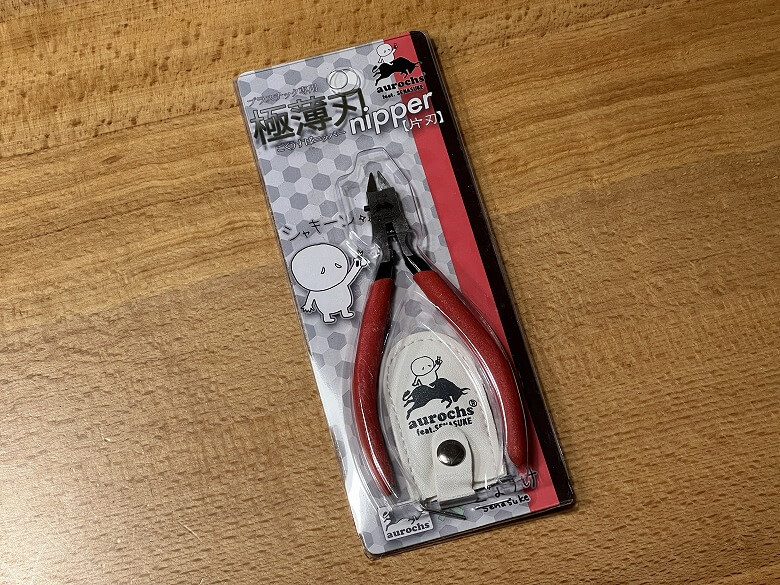
This is because deburring is crucial for the quality of keycaps, and after making several, I realized it’s best to have a sharp tool.
It’s a collaboration model with “Senasuke,” a YouTuber and brush painter, and I was amazed by the fine blade tip and excellent sharpness compared to my previous nippers.
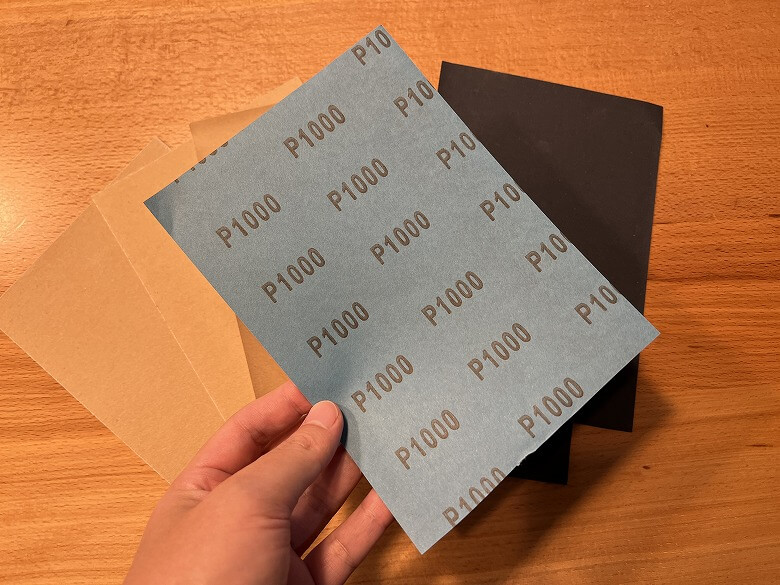
Sandpaper
Sandpaper from a 100-yen shop like Daiso is sufficient.
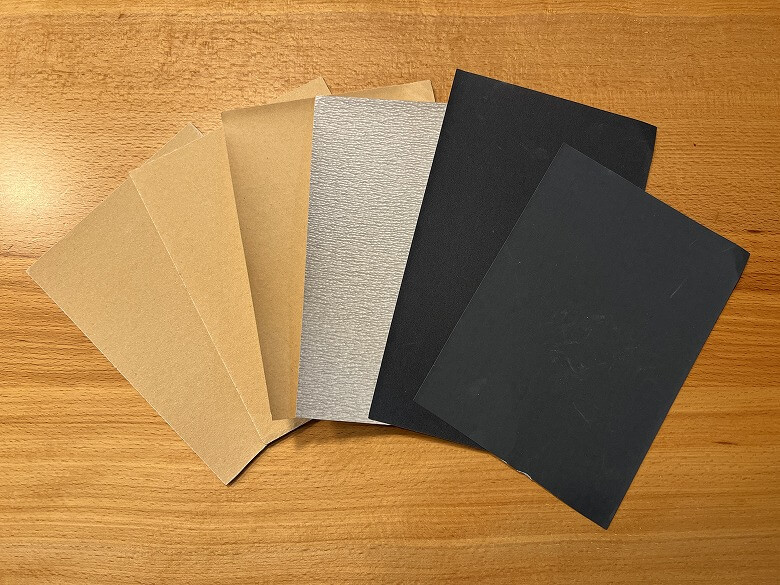
For rough areas, I use #240–400, and for finishing, I use #1000.
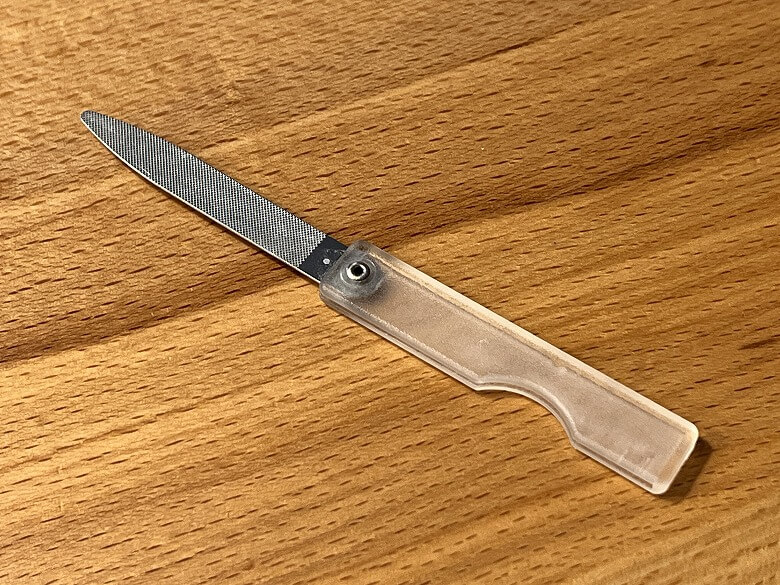
Nail File
A nail file isn’t essential, but it’s handy to have.
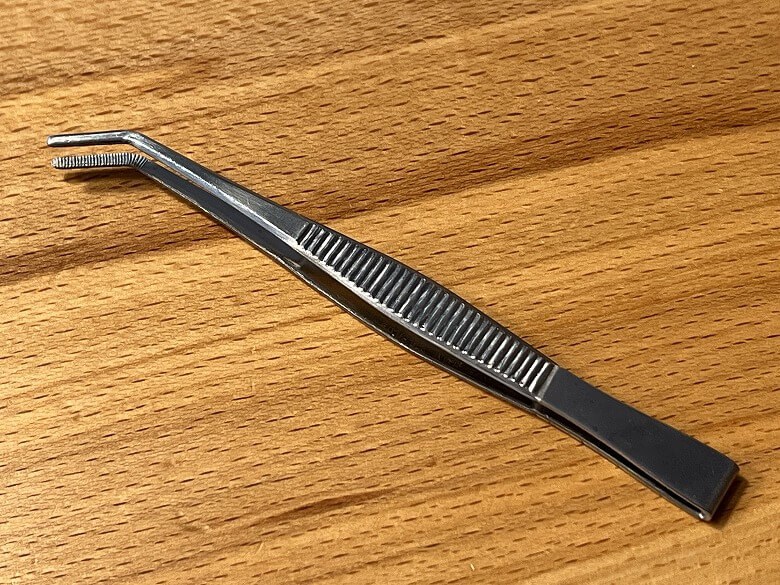
Tweezers
Tweezers are essential not just for keycap making, but for all handmade work.
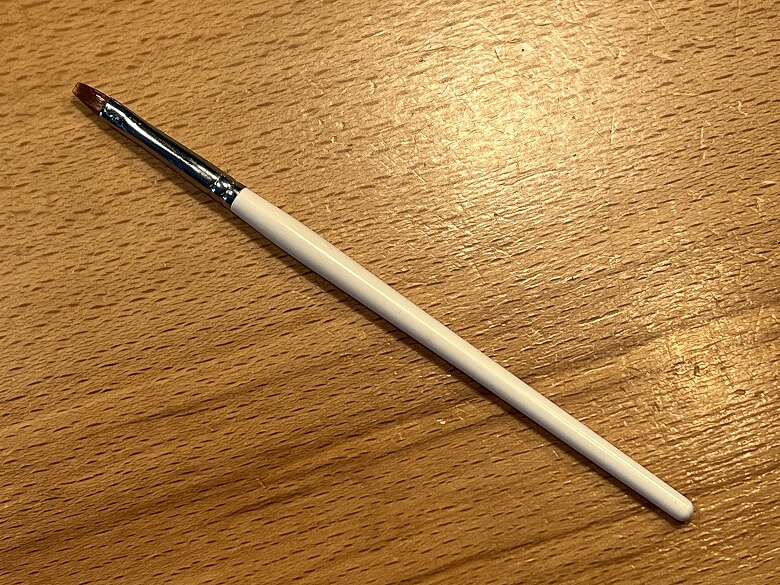
Brushes
Brushes are convenient for handling resin and especially useful when applying a topcoat.
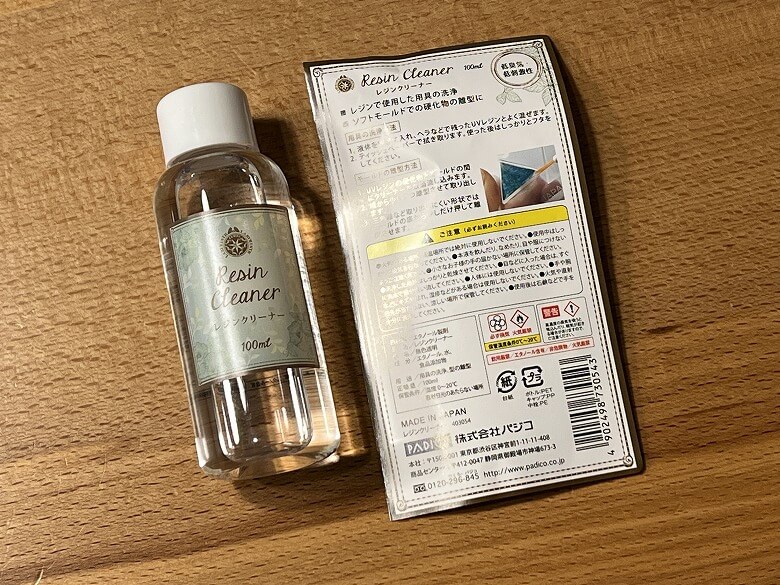
Resin Cleaner
Resin cleaner is used for cleaning tools and for the final finishing of keycaps.
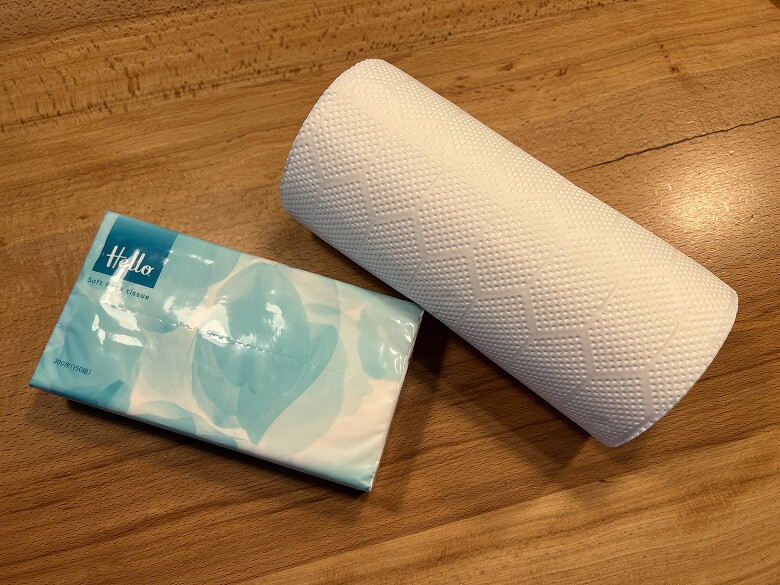
Tissues & Kitchen Paper
Tissues and kitchen paper are not essential, but it’s useful to have them on hand.
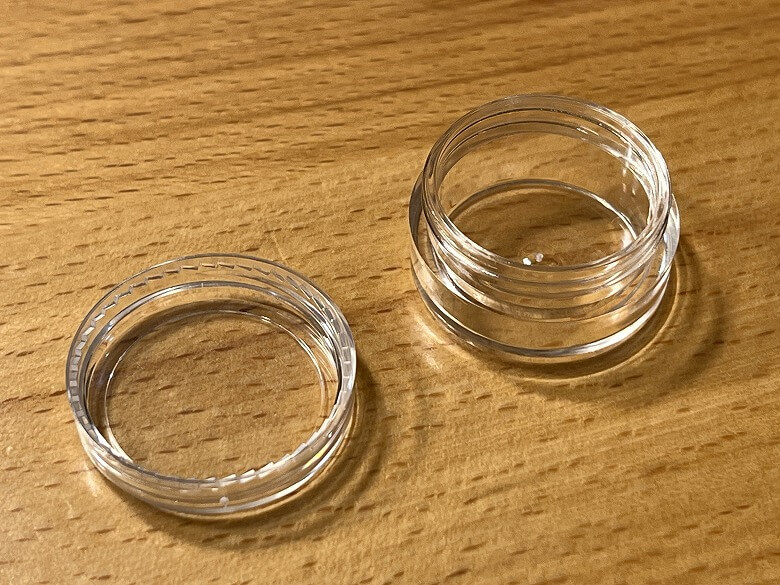
Small Round Cases
Small round cases are repurposed from containers typically used for cream or powder cosmetics.
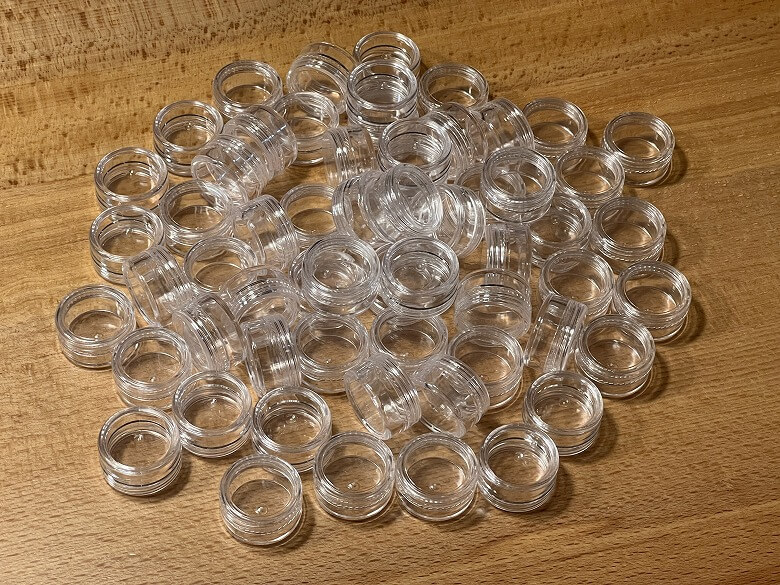
The compact round shape with a lid makes it easy to store various items.
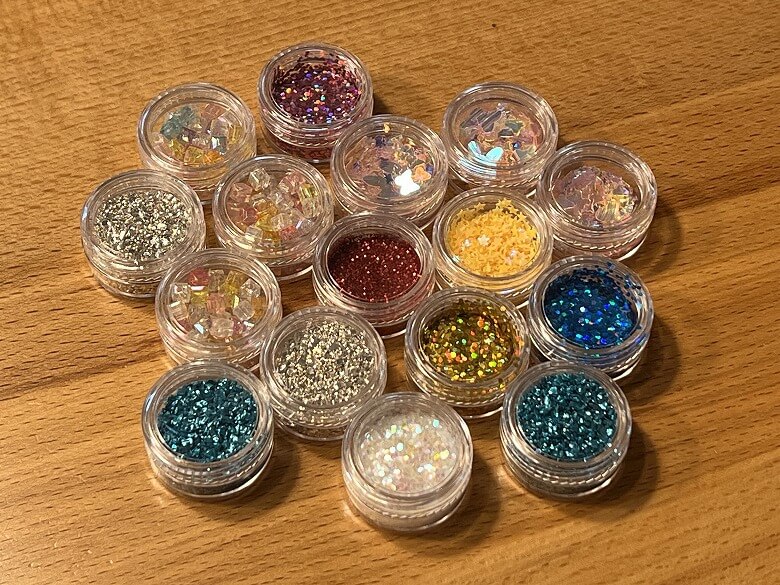
If you want to decorate keycaps with glitter, storing it in small round cases is convenient.
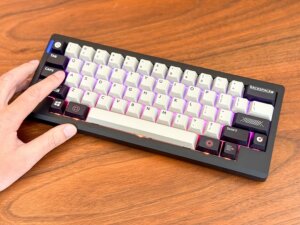
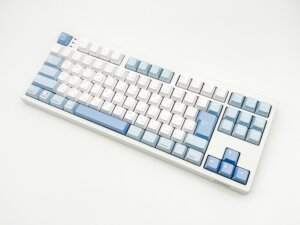
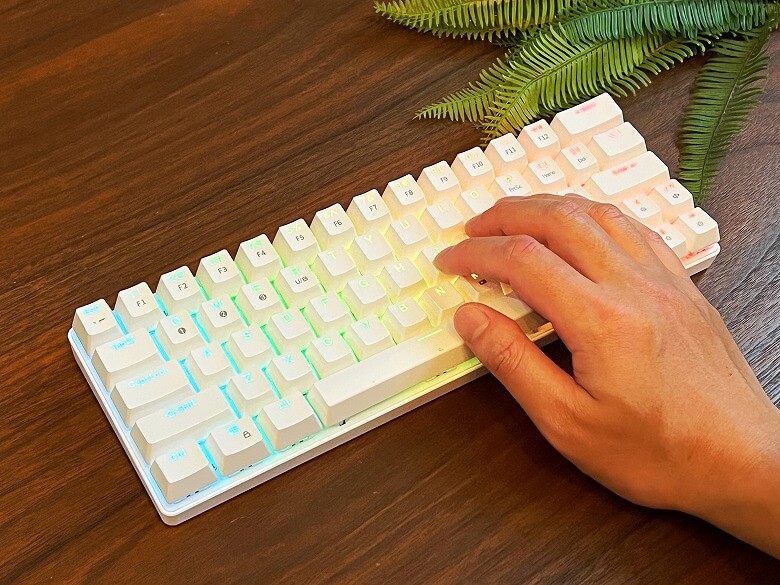
Keyboard
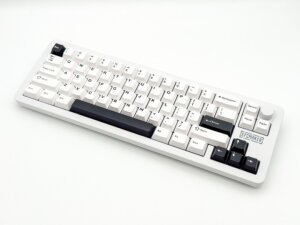
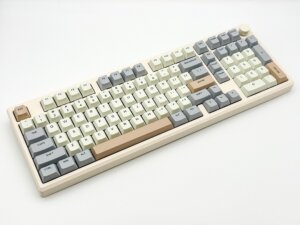
Having a keyboard allows you to check if the keycaps you made actually work properly.
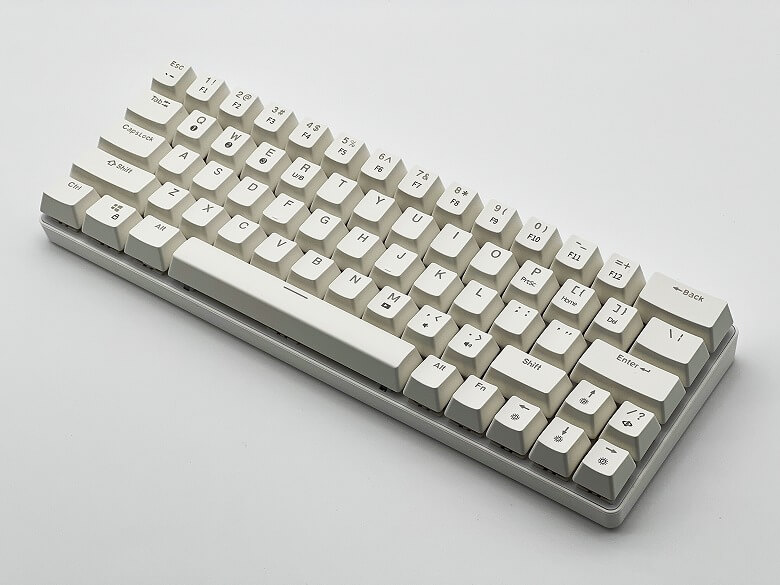
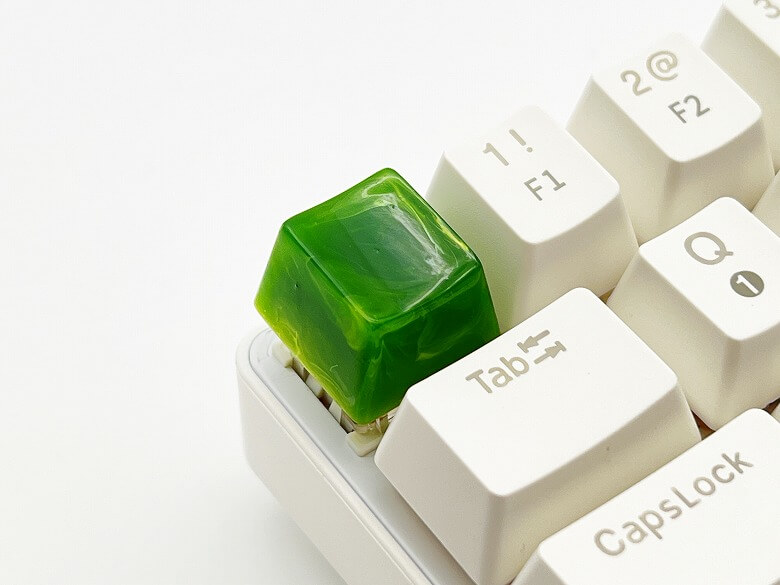
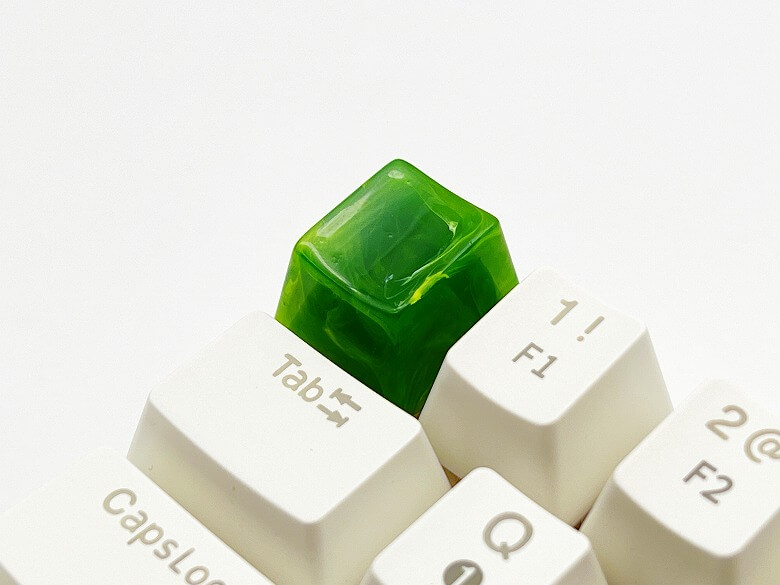
When sharing photos or selling keycaps, having images with them installed makes it easier for others to visualize, so it’s recommended.
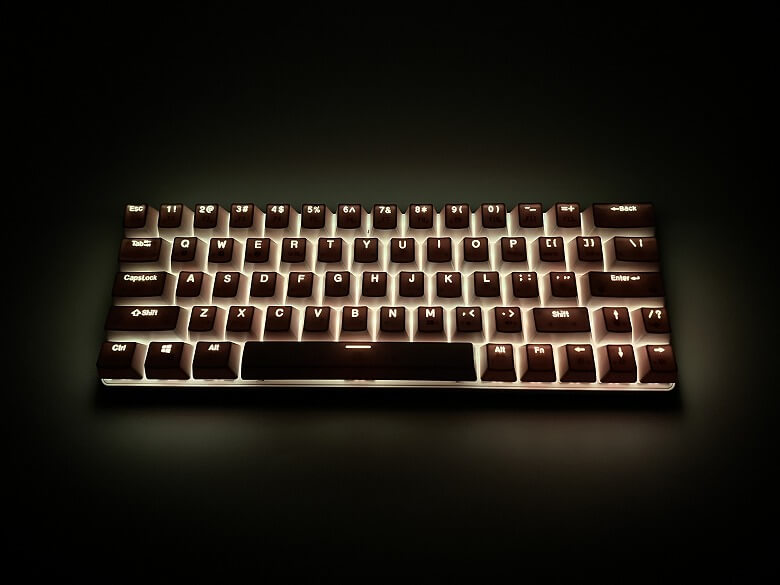
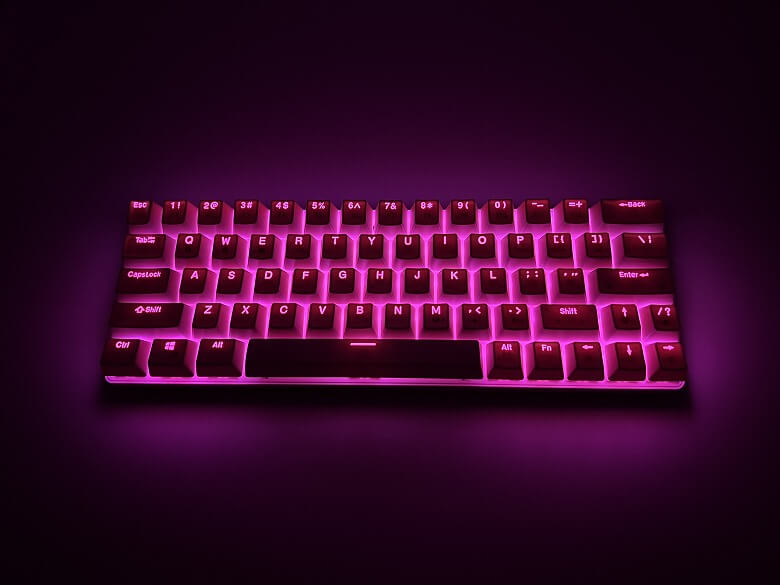
If the keyboard has a backlight, light passes through clear keycaps and creates a variety of visual effects.
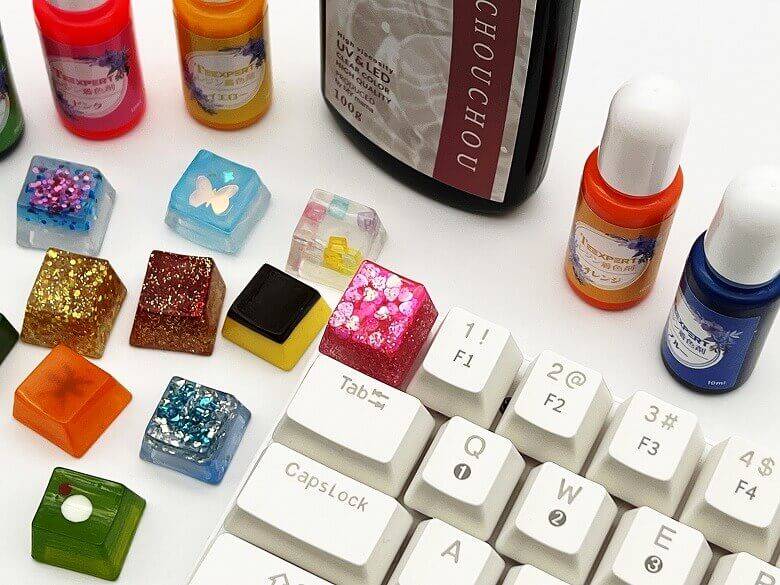
Materials Needed for DIY Keycaps
Besides tools, you’ll need materials to make keycaps.
You can make keycaps with just resin, but if you want to add color, decorations, or improve appearance, you need to gather the appropriate materials.
Here are the materials I use, with links to Amazon and other e-commerce sites so you can get what you need.
Unless you want advanced decorations, these basics are enough to make keycaps.
Materials Needed for DIY Keycaps
- UV Resin
- Resin Pigments
- Glitter (powder, die-cut, hologram)
- Decoration Parts
- Topcoat
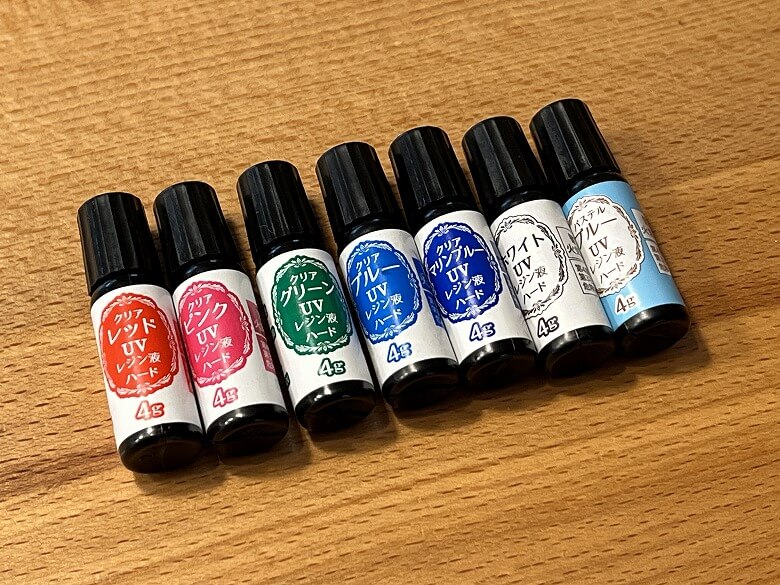
UV Resin
Of course, nothing can start without UV resin.
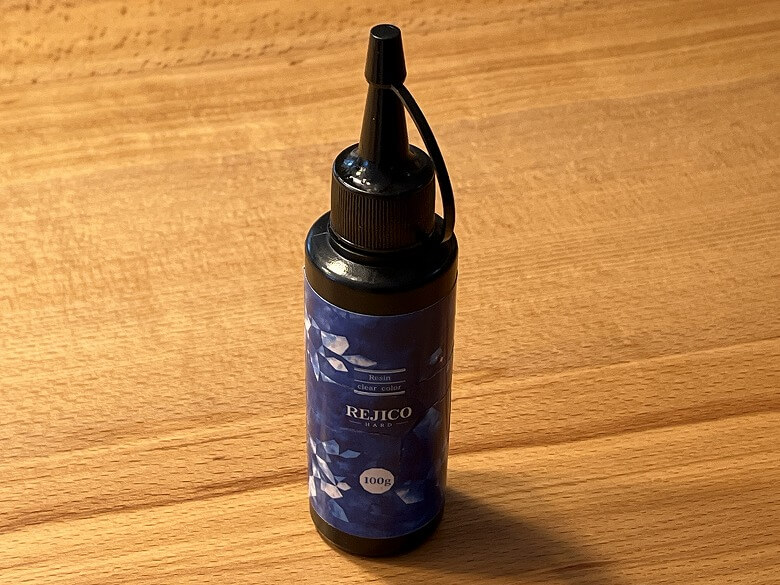
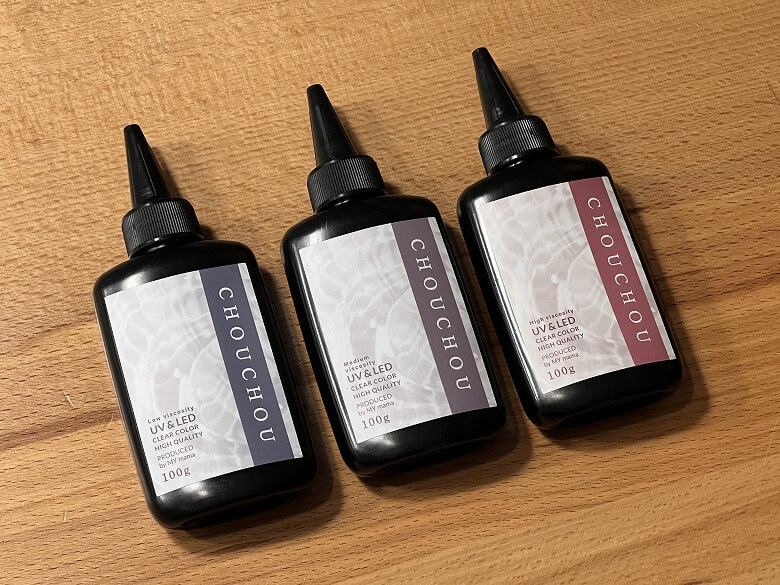
Items from 100-yen stores work fine, but the quantity is small. If you want to make multiple keycaps, it’s more economical to buy over 100 g.
Resin Pigments
With resin pigments, you can create colorful keycaps and dramatically expand your creative possibilities.
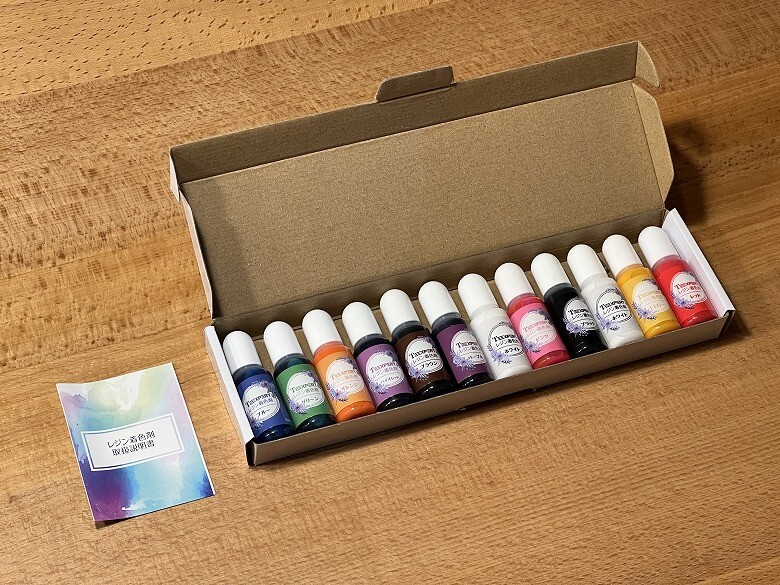
As long as you have colors, it becomes easier to bring your ideas to life, so make sure to have them ready.
Glitter (Powder, Die-cut, Hologram)
If you want sparkling keycaps, glitter is recommended.
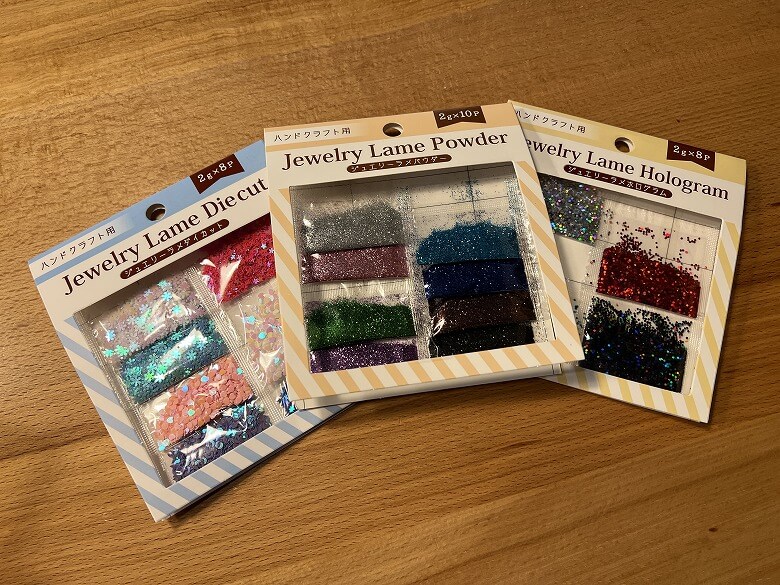
Glitter can be found in 100-yen stores, makes keycaps look gorgeous, and hides minor imperfections, making it perfect for beginners.
Decoration Parts
With decoration parts such as beads, you can make your keycaps more visually appealing.
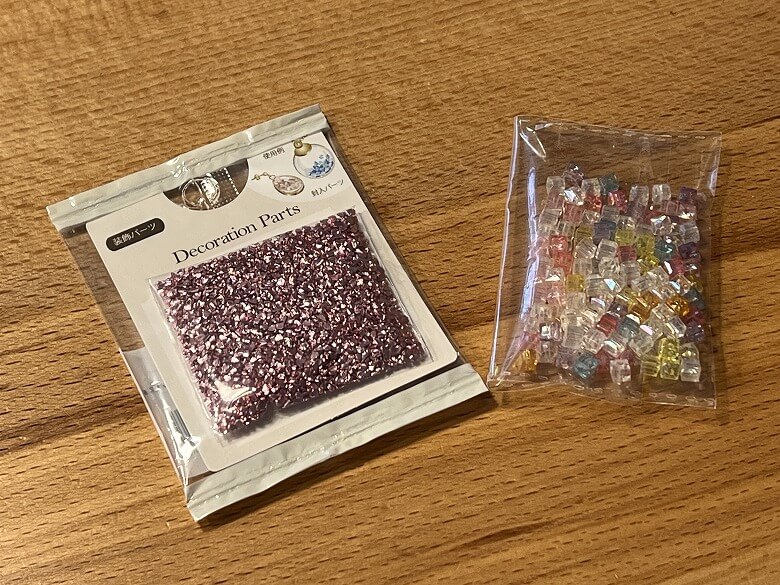
Keep in mind that since keycaps are small, very large decoration parts cannot be used.
Topcoat
Topcoat is used for the final finishing of keycaps.
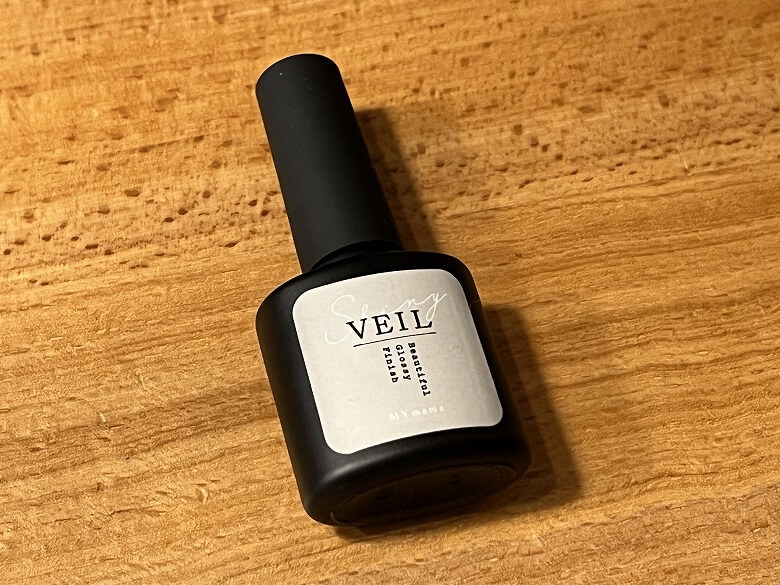
Sanding can make the surface cloudy, but applying topcoat will make it shine brilliantly!
Steps to Make DIY Keycaps
The process may seem long and complex, but once you learn it, it’s simple and can be done like an assembly line.
STEP
Lay down paper or a cutting mat to create a workspace
STEP
Put on PVC gloves
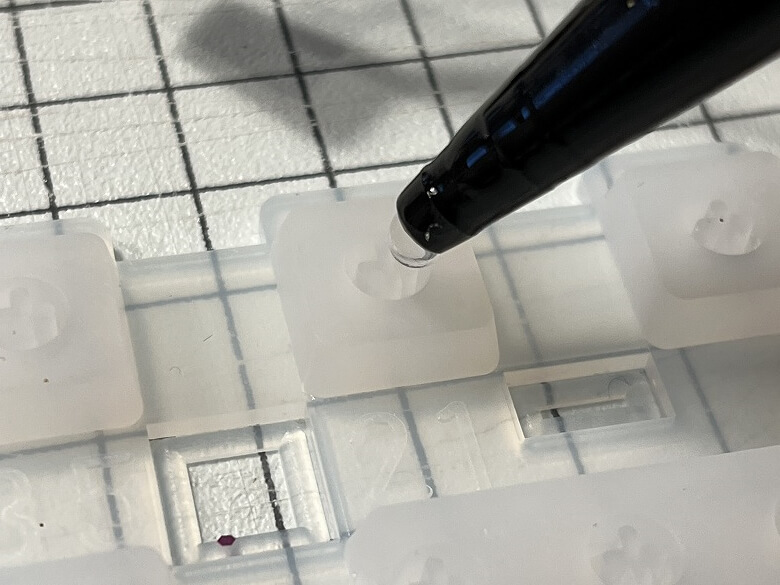
STEP
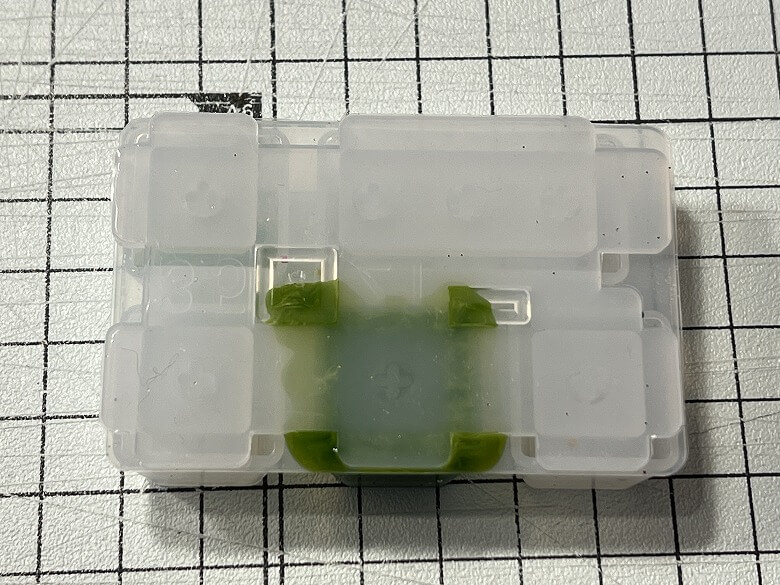
Pour resin into the stem side of the mold
It often happens that the resin doesn’t fully reach the gaps, so use a toothpick to spread it all the way through.
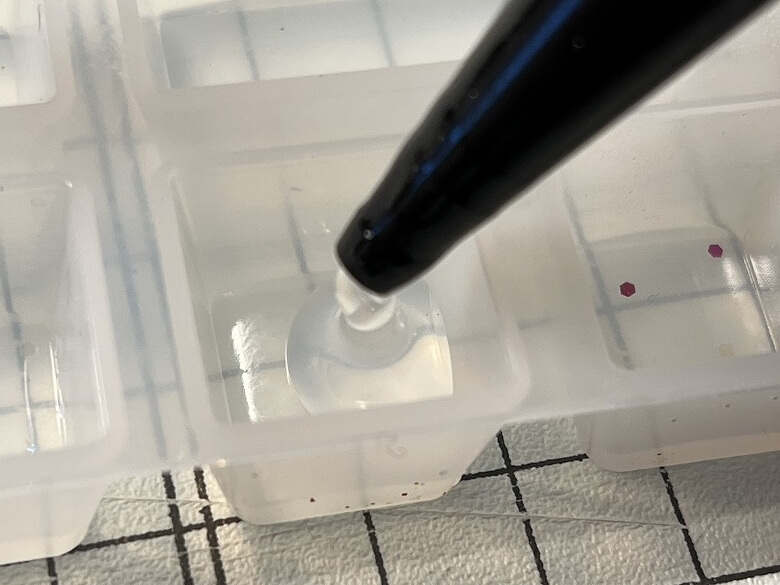
STEP
Pour resin into the keycap side of the mold
Finally, fill about 90% of the mold with resin as a guideline.
STEP
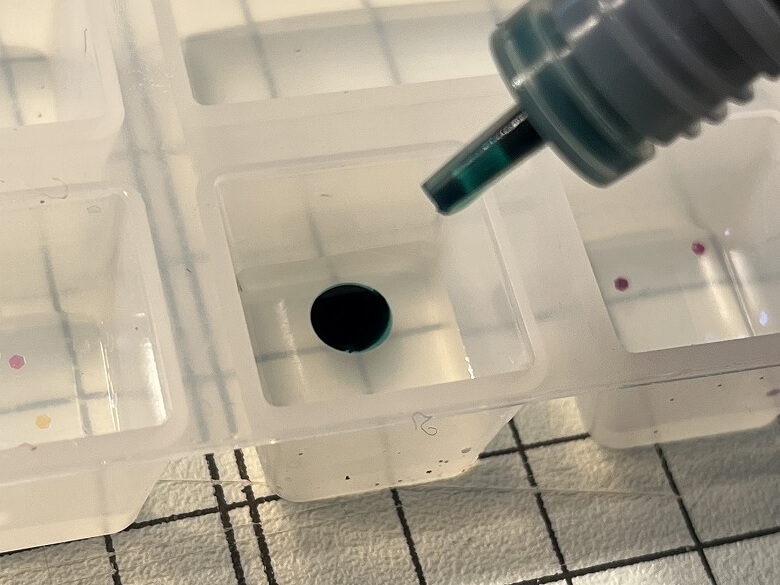
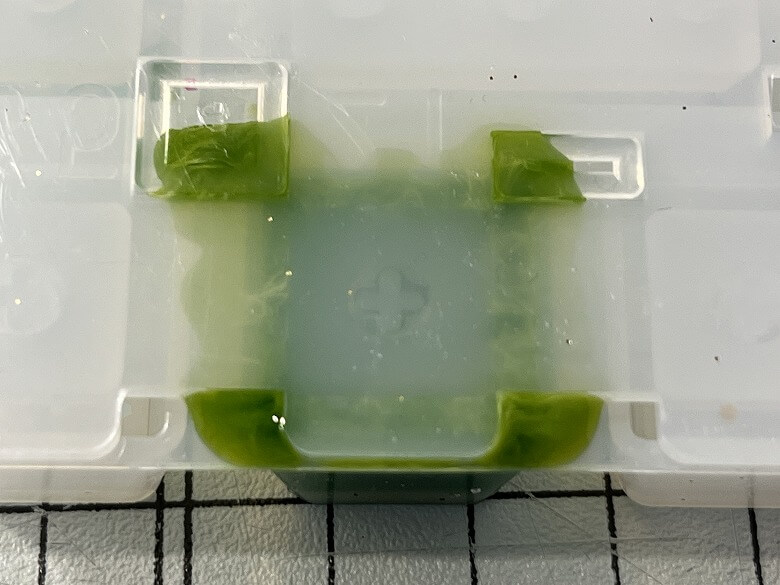
Add coloring agent to the resin in the mold
Here the coloring agent is added directly into the mold, but you can also pour resin colored in a separate dish.
STEP
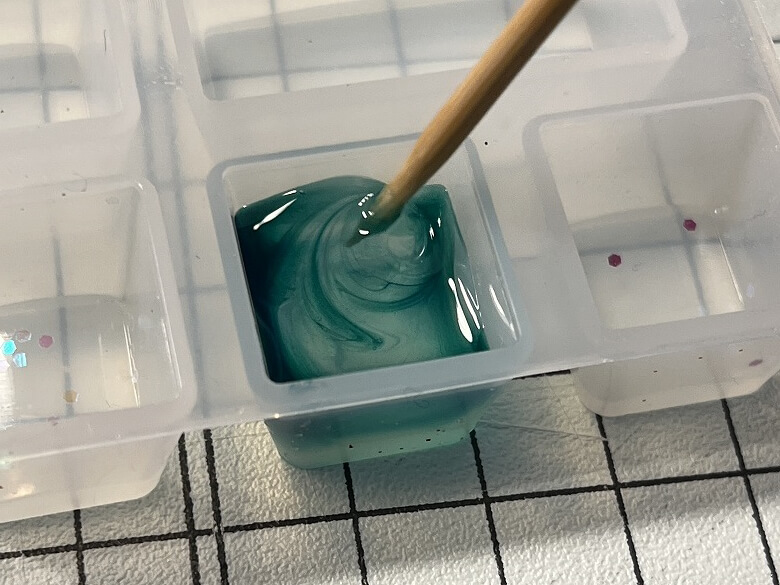
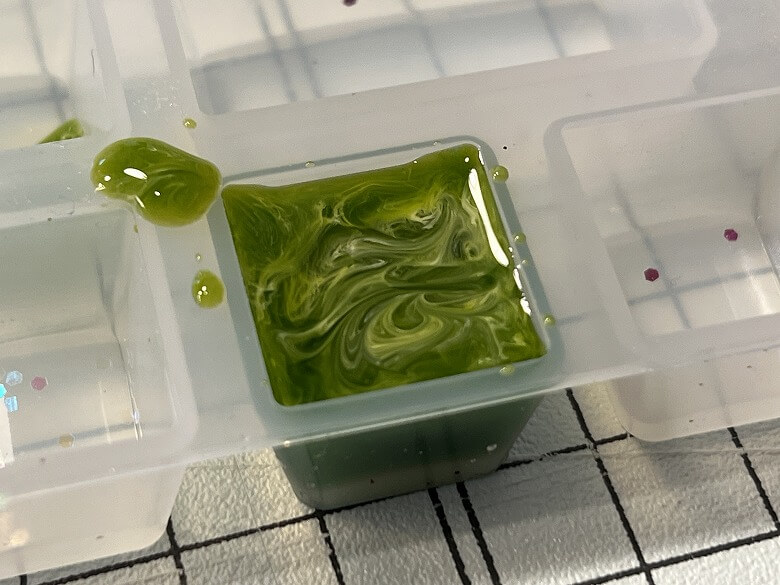
Mix the resin with a toothpick and color it to your preferred shade
If you are using glitter or decoration parts, add them into the resin at this timing.
If you add too much coloring agent, it will be harder to cure, so add it gradually.
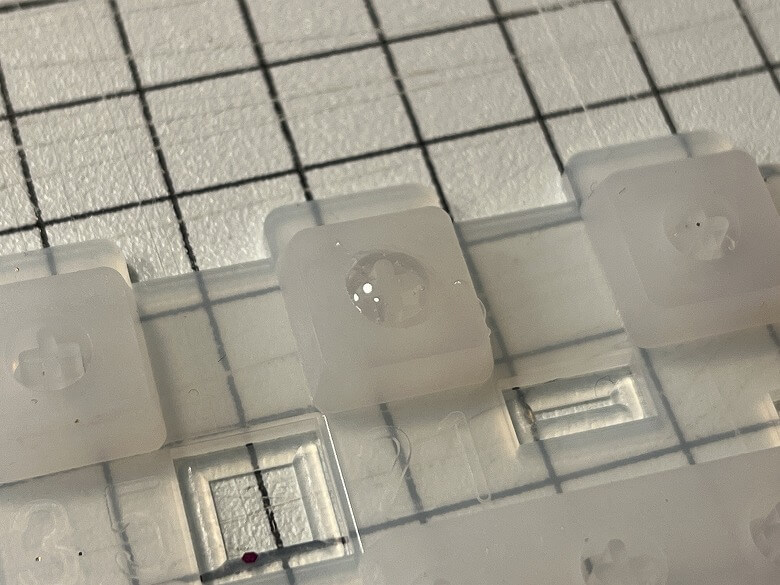
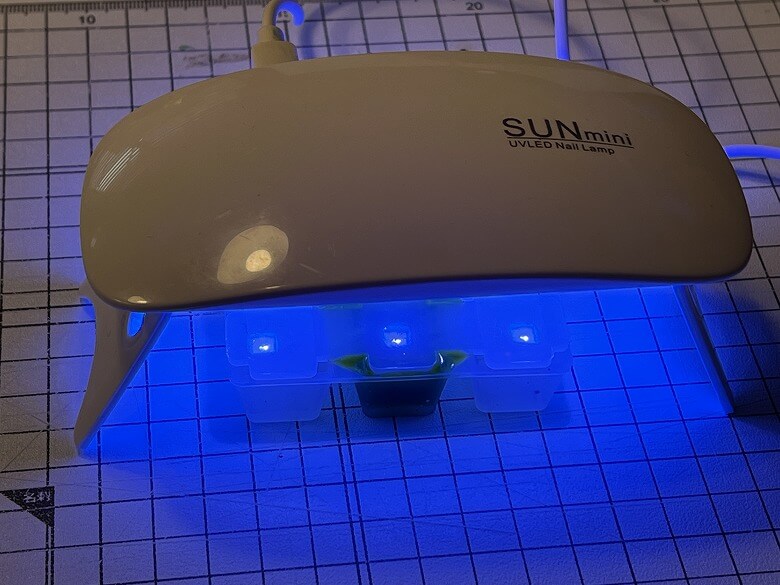
STEP
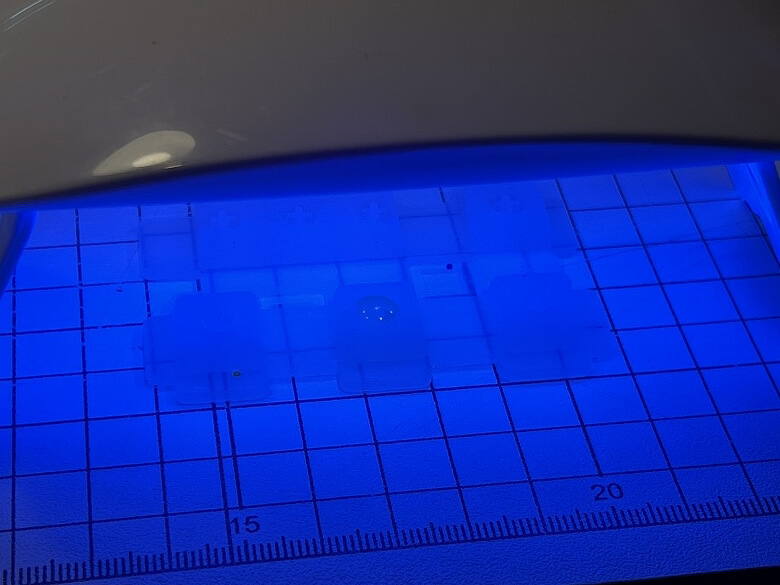
Cure the resin in the stem side mold with a UV light
Shining for about 2 minutes on each side will cure it.
STEP
Match the cured stem resin with the keycap resin
At this time, adjust so that the stem is positioned in the center of the keycap.
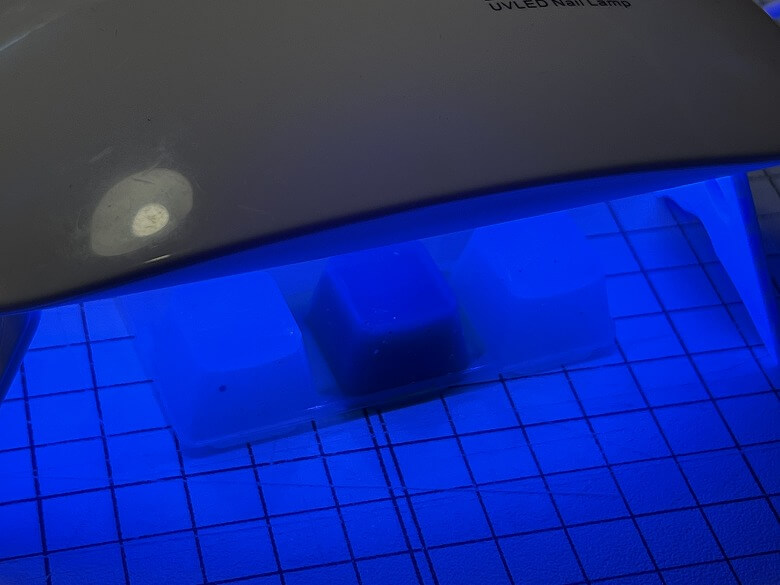
STEP
Cure the keycap resin, matched with the stem, under a UV light
The curing time can vary greatly depending on the amount and shade of the coloring agent. If it’s close to transparent, it takes about 5 minutes, and if darker, it can take more than 10 minutes.
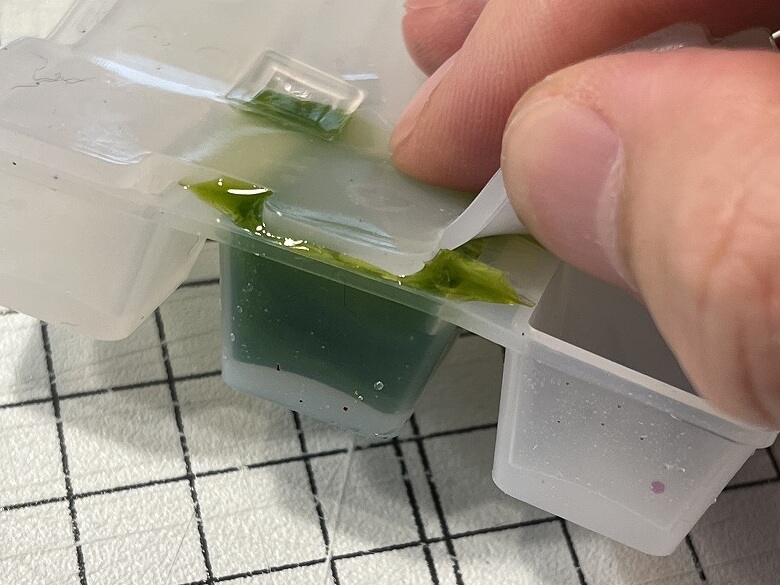
STEP
Remove the stem mold from the keycap
If the curing is insufficient, the stem may not be fixed, in which case return the mold and re-cure.
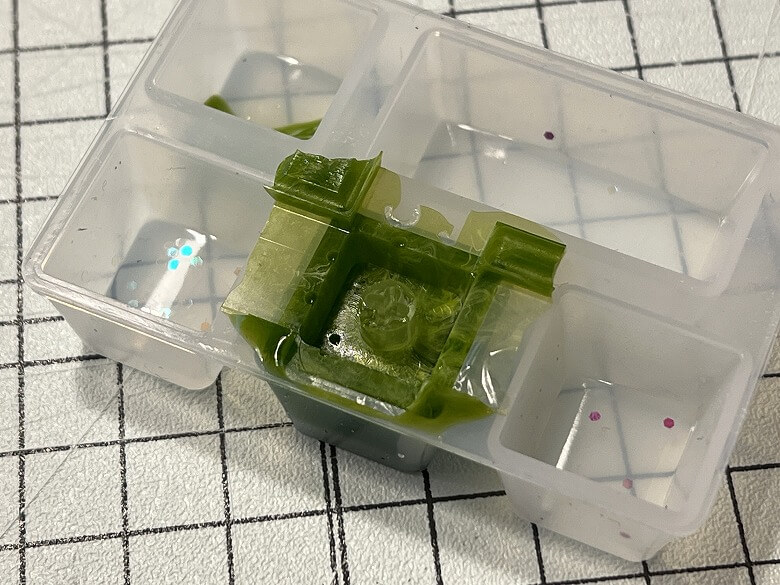
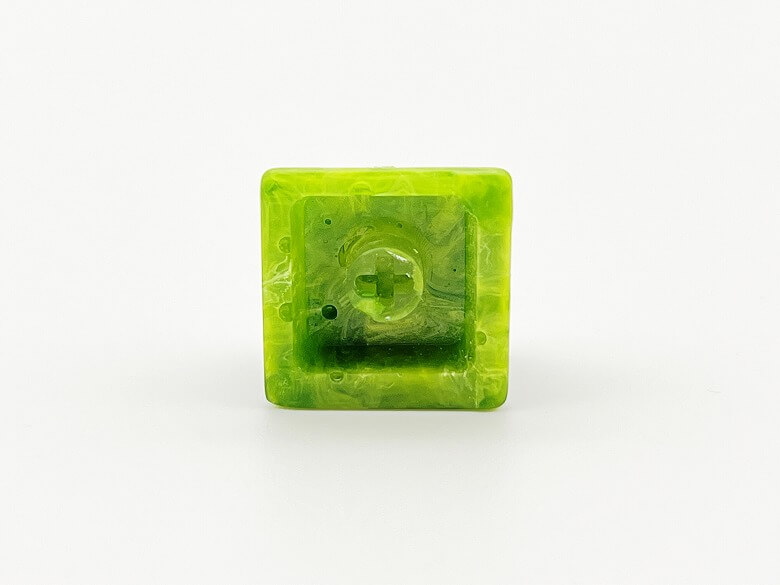
STEP
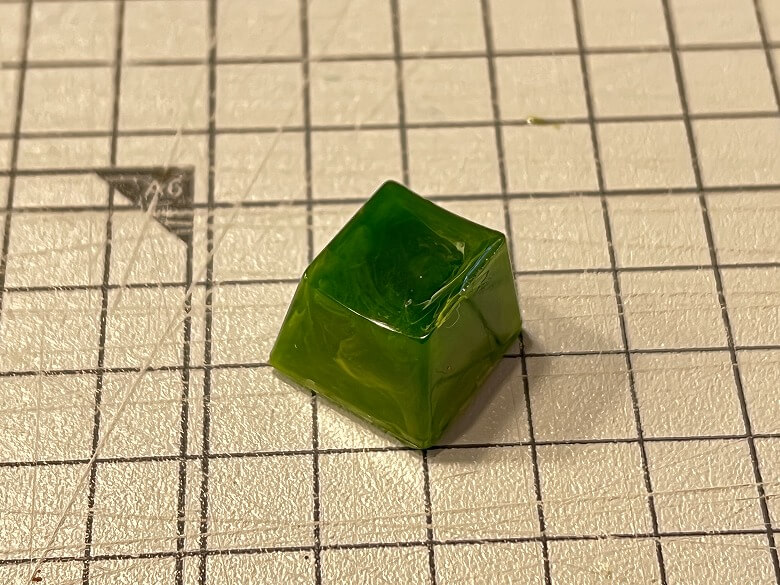
Remove the cured keycap from the mold
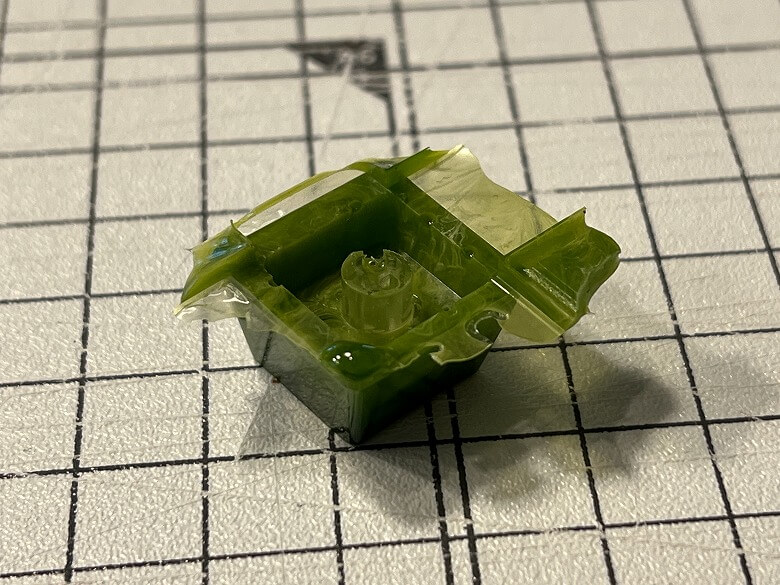
STEP
Use nippers to remove excess parts (burrs)
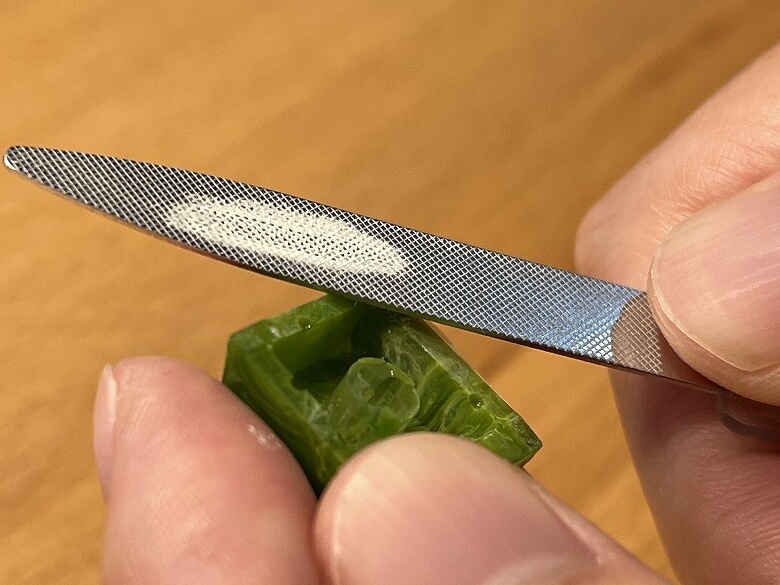
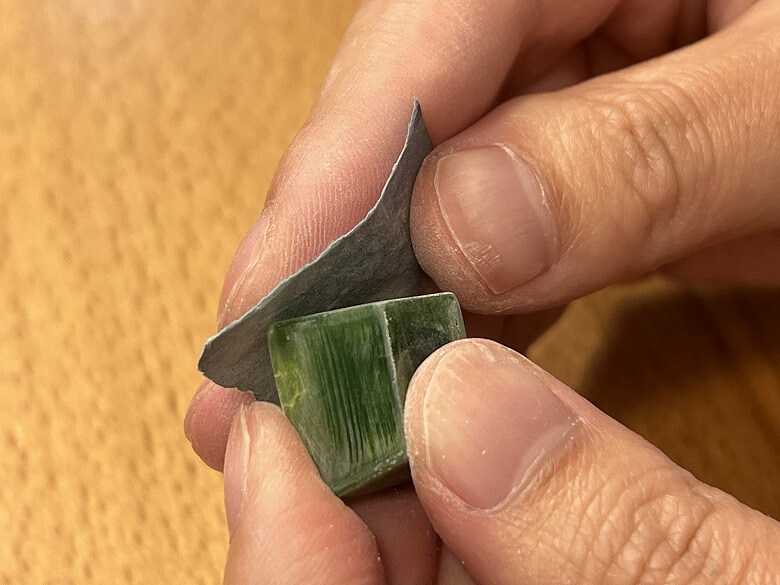
STEP
File rough or excess parts with a nail file or sandpaper
STEP
Apply a top coat over the entire keycap
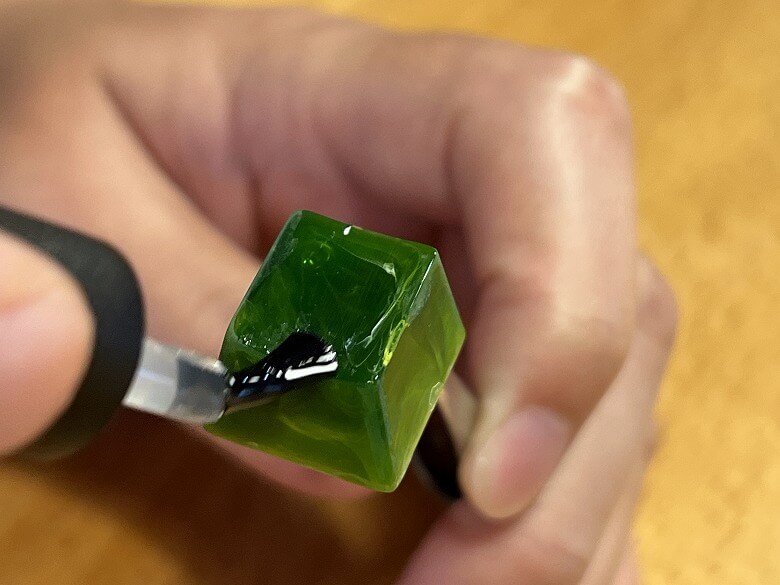
STEP
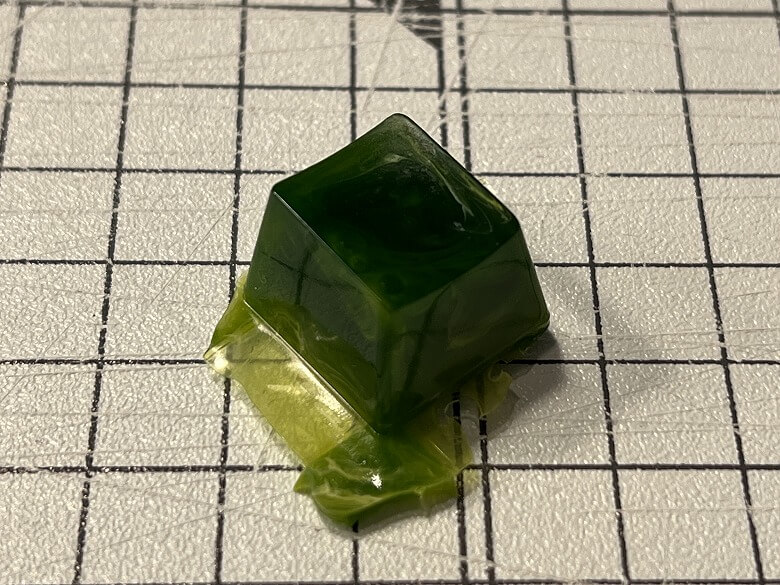
Cure the top coat with a UV light and it’s complete!
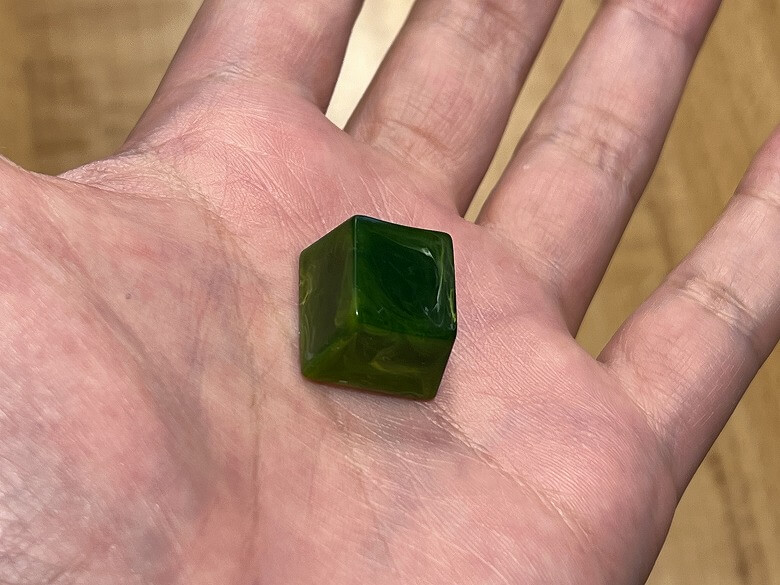
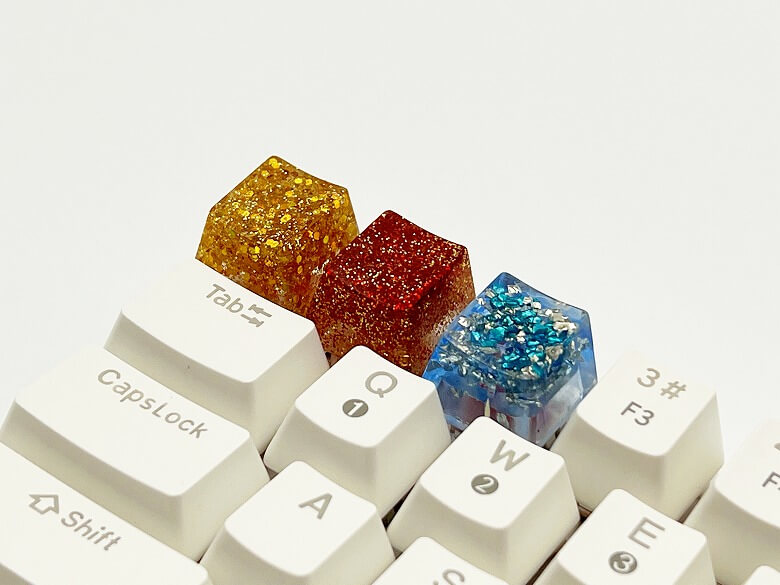
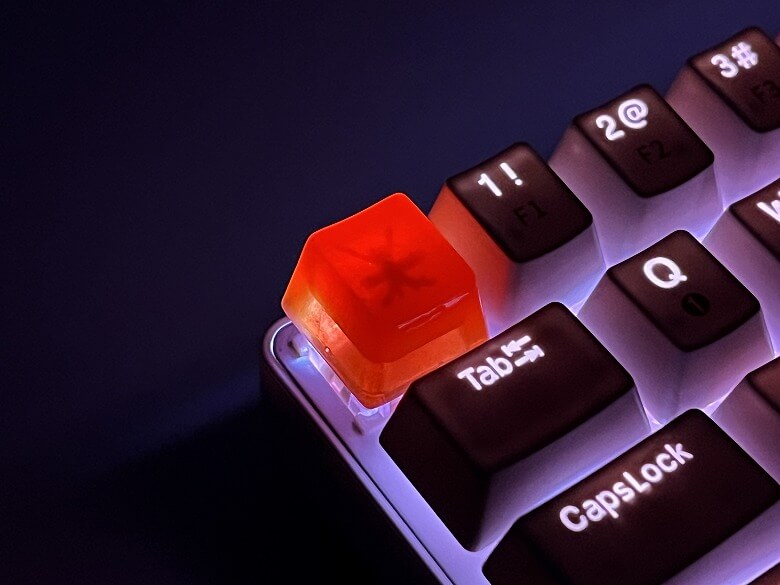
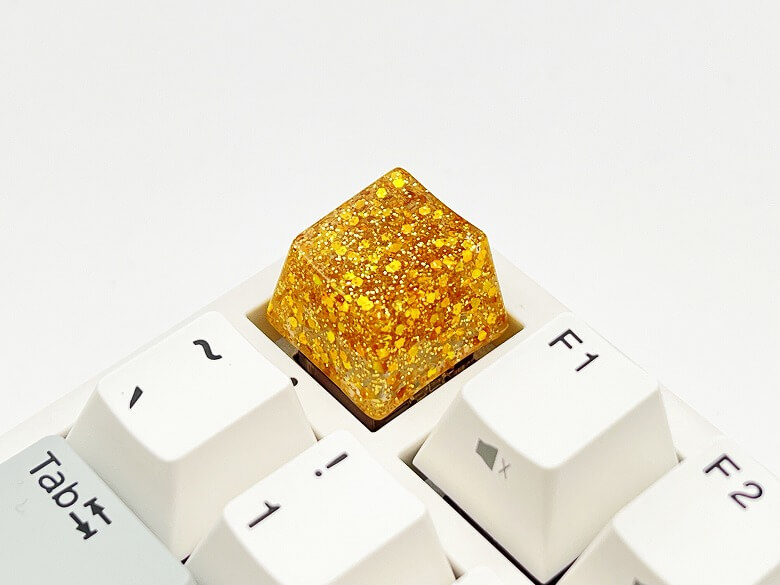
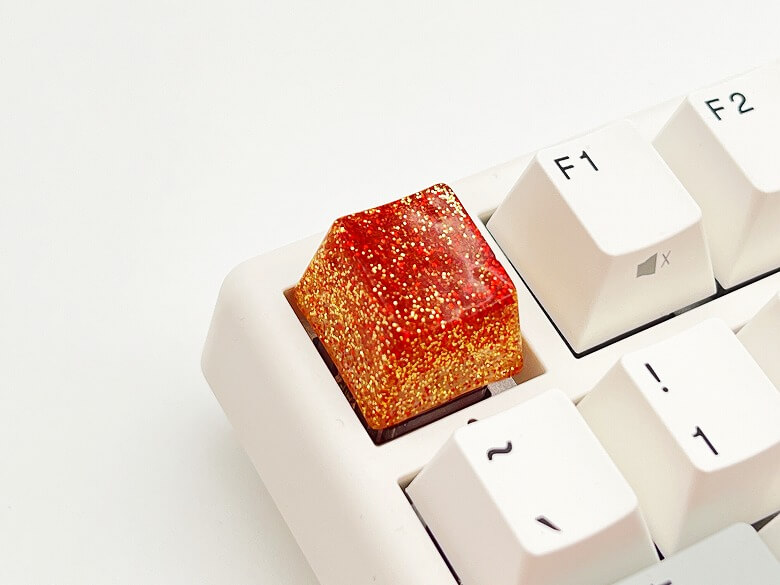
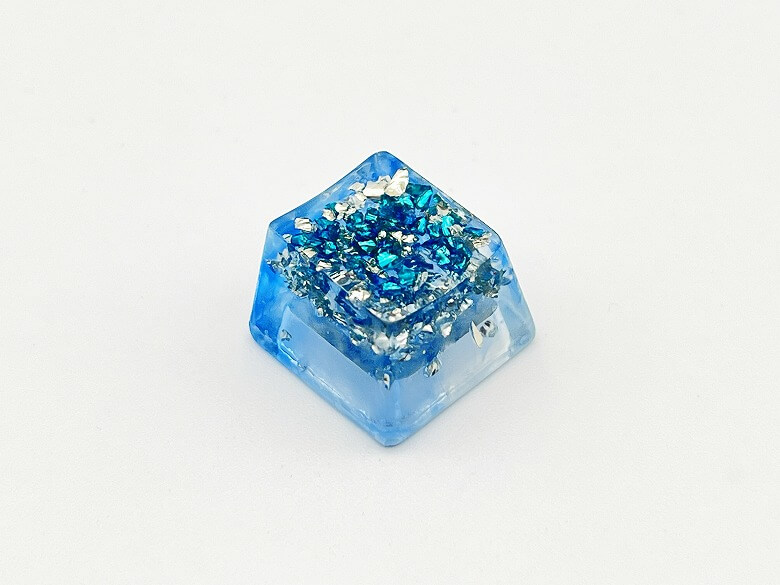
The finished keycaps look like this, and they look especially beautiful and photogenic when light hits them.
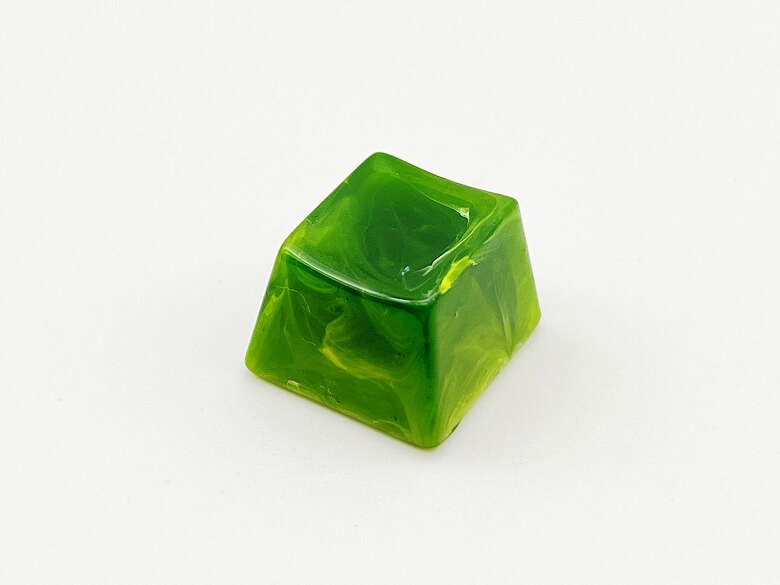

Here are some of the keycaps I have made so far.
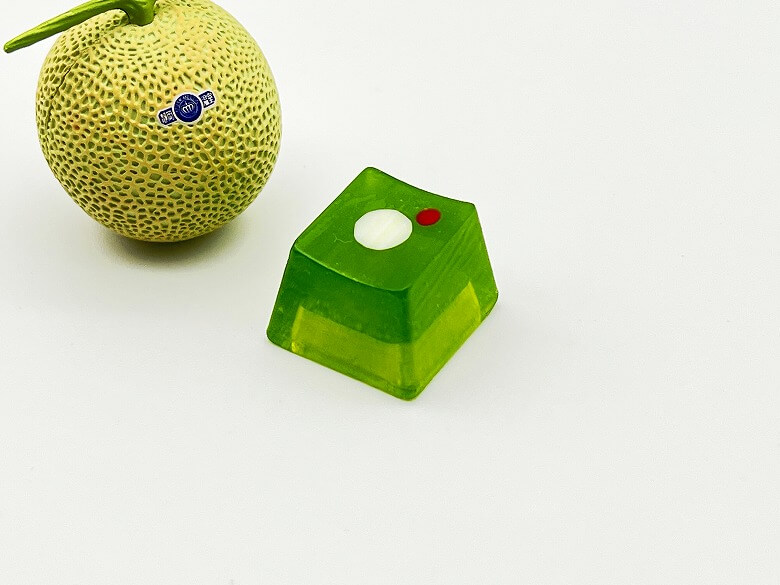
The keycaps I make are sold on EC sites like BOOTH and BASE, so feel free to check them out if you’re interested!
Summary of DIY Keycap Making
This article covered “【2026】Complete Guide to DIY Keycap Making! Anyone can easily make them once you have the tools and materials [UV Resin]”.
There are many types of tools and materials needed, and it can be overwhelming at first, but once you have everything ready, you can fully immerse yourself in making.
Consumables can be replenished as needed, and you can use insights from the making process to upgrade to better tools and materials.
If you keep making them steadily, it might not be a dream to one day become a popular creator!
Let’s enjoy a fulfilling keycap making life~♪

-
 Epomaker Galaxy68 Review: Silence, Speed, and Stunning Design — The Ultimate 65% Keyboard Experience
-
Epomaker Galaxy100 QMK/VIA Review: A Powerful Keyboard for Beginners and Enthusiasts
Related Articles
-
Epomaker Galaxy100 QMK/VIA Review: A Powerful Keyboard for Beginners and Enthusiasts
-
Epomaker Galaxy68 Review: Silence, Speed, and Stunning Design — The Ultimate 65% Keyboard Experience
-
Epomaker x AULA F108 Review: A High-Value Keyboard Built for Gaming and Everyday Use
-
Epomaker TH99 Pro Review: 99-Key Mechanical Keyboard with Built-In Smart Display
-
Epomaker Hack 59 Review: HHKB-Style 59-Key Compact Mechanical Gaming Keyboard
-
Epomaker EK21 Review: A Hot-Swappable Numpad with an Aluminum Knob at a Great Price
-
Epomaker TH87 JIS Review: A High-Value Wireless Mechanical Keyboard with Japanese Layout Support